When we set up our hair in the morning perfectly, and expect them to stay that way for the entire day, sometimes they will lose their shape right away. We all don’t have much time in the morning and maybe apply wax on our messy bed hair. Or even if we fix our bed hair, we don’t have time to dry them off so we apply wax on wet hair… These are few of the reasons why our hair won’t stay the way we want them to be for the entire day.
When our hair is messed up, our appearance will change quite a bit and sometimes sets the bad tone for the entire day.
This article is for the people who have these problems regularly in their lives. We will explain how to set up your hair to stay the way it is for the day, reasons why your hair gets messy easily, and few tips on hair setup techniques.
Setting up your hair correctly sounds intimidating and hard to do for some people but I assure you they aren’t. And when you get used to it, you could try to set up multiple different styles with the hairstyle you got. This is the chance to start enjoying your hair setup routine in the morning.
If you are ashamed of asking your friends these questions, use this article as your mentor!
If your hair doesn’t want to listen to you, try using hard waxes
So first of all, you’ll need hair wax to set up your hair. If you are not a huge fan of hair wax or it’s your first time picking out hair waxes, choose the hair wax with “hard” or “strong hold” signs on its package. If you don’t know which hair wax to get, always choose a hard type of hair wax that is in cream shape.
Hard waxes will hold and keep your hair the way you want them to be for a long time. Beginners will often choose natural type hair waxes but if you don’t know the proper way of styling your hair, your hair won’t turn out the way you’d want them to be. So until you get used to setting up your hair, use the hard type hair waxes!
Preparation is the key!
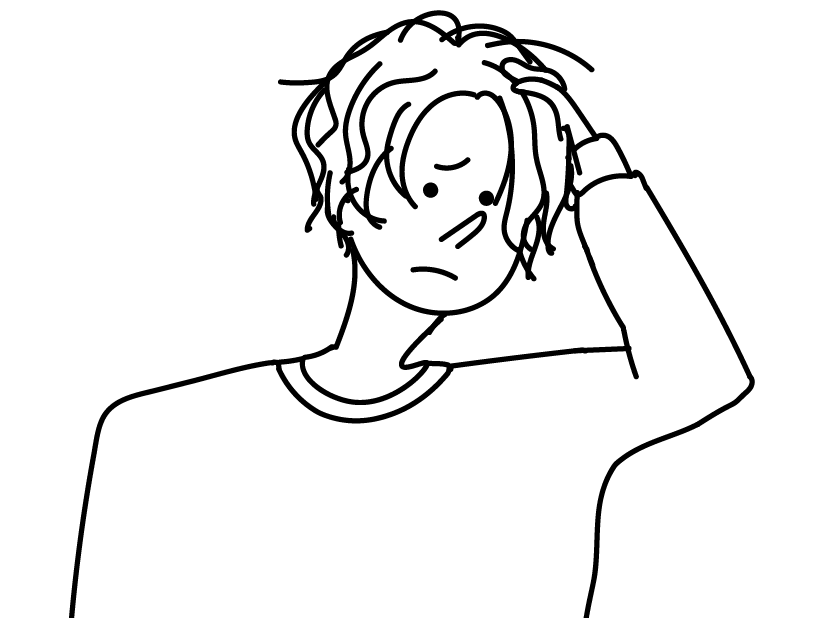
The most important part of hairstyling is the processes before applying wax on your hair. We’ll explain why it’s not working on your hair and how to solve the problem.
Get your hair wet from the loots
Do you ever try to apply wax on when you’ve got messy bed hair or weird separation in the middle of your hair? When the hair is messy, most of the people wouldn’t get the result they want with their waxes or even worse they might put even more waxes to try to fix the messiness.
If that’s the case for you, try wetting your hair before applying waxes at all. And when you get your hair wet, try that from the loots of the hair also. A lot of people think that it’s the surface of the hair that’s messy, but most of the time loots are the real problem.
“But nobody’s got time to shower in the morning”. Then try a sprayer to save yourself some time! Spray water to the messy part of your hair, and try fixing it with a comb.. Most of the time your hair will get back to its normal shape.
Also when the surface doesn’t look messed up, sometimes loots are still squashed. Always wet your hair from the loots before applying wax on them!
Importance of hot to dry your hair
If you apply hair waxes on your hair while they are wet, the wax will get mixed up with water and doesn’t work very well. You could get perm on your hair to save some time to set up your hair or there are few ways to set your hair while your hair is wet. But most of the time you have to dry your hair before applying wax on it.
The tip on how to dry your hair correctly is to send the air softly on the surface that you want to create volume on and on the other hand, apply the dryer aggressively on the loots of the part that you want to decrease volume. For example if you are trying to create some volume on top of your head, pull your hair up with your empty hand and apply a dryer from bottom to top.
And on parts that you want volume to decrease, apply a dryer from top to bottom while softly pushing down the hair with your empty hand.
Although make sure to leave your hair just a little wet when applying a dryer on your hair. You could tell when to stop when your hair is still a little moist but not all the way wet. Little bit of moist works well when applying wax on your hair. Give it a try!
Imagine “The rhombus shape” when styling your hair
You need to picture how you want your hair to look when styling the hair. The important point is to try to style your hair in rhombus shape. Set “top of your head”, “chin”, and “both sides of the head” as your 4 points of the diamond and try to shape the hair with that image. The rhombus shape method works very well for japanese people because of how their heads are shaped. Whatever style you got going on, picture a rhombus shape before styling your hair.
In this segment, we are going to show you how to style your hair with hair down and also how to style them with hair up. How much wax to apply when trying out the hair down style or, you want to put your hair up but it always falls in front of your face, use this as a textbook and solve your problems!
Also this technique is for short to medium length hair. So be sure to check it out if you have short to medium length hair!
How to style your hair down
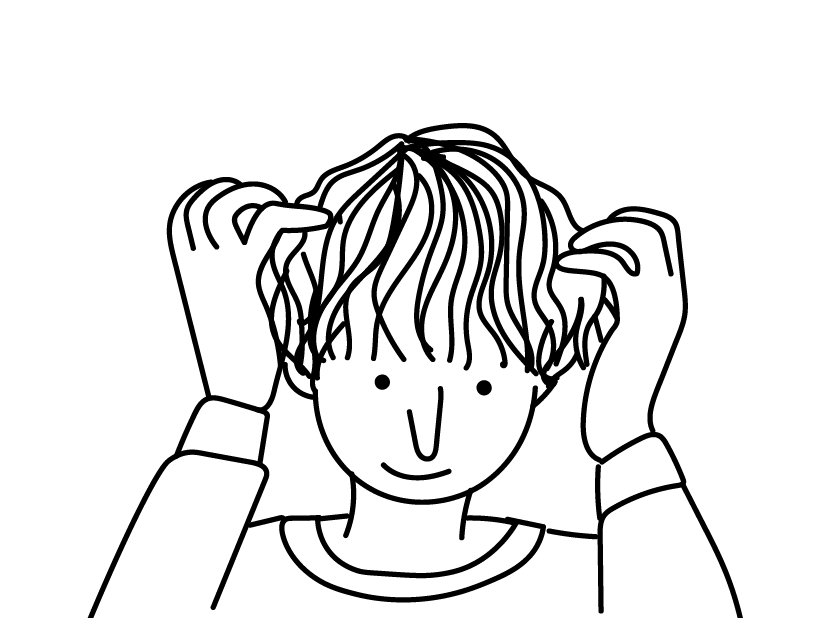 First of all, we are going to show you the hair down styling technique. The front part of the hair is always hard to figure out how much wax to apply. Even the hair looks good after applying a dryer, the wax often ruins the look. If you have experienced that before, this technique could help your hair look good while staying in that shape for a long time.
1.Spread the wax widely on palm of your hand
Let’s scoop up the wax about the size of a 10JPY coin. How much wax you scoop up at first is important, otherwise they won’t work like they are supposed to. So until you remember the exact amount, use a 10JPY coin as an example. Even if you have a lot of hair, use the coin method at first just to make everything easier, then adjust the amount of wax afterwards.
After that, spread the wax on the palm of your hand. While doing this, remember that if there is any part of the wax that’s not spread enough, that part will ruin the whole hair setup by giving part of your hair a weird twirl and become a reason for not being able to set up your hair correctly. Therefore it’s important to make sure that you don’t leave any white spot on your palm when spreading the wax, and also to spread them between your fingers as well.
2. Rub the wax on to your hair from back of your head
Finally we are going to apply wax on your hair, but you have to know the right steps to take. At first you’d want to start from the back of your head. Because at first you have a lot of wax on your hand and if you start from the front, it’s going to look greasy. Apply the wax from the back of your head to eliminate that from happening.
Also you have to know how to apply it as well. Open up your palm and slightly bent your fingers and softly grab your hair, then rub the wax in your hair. That motion helps the wax to go deep inside to your loots as well and your hair becomes easier to move around a bit. But be careful not to put wax on your scalp. If the wax is on your scalp, they are hard to come out when you shower and use shampoo.
3. Apply wax on sides
When you are done styling the back, start styling sides of your hair. You don’t need your sides to stand up. Use your finger tips and move around to push down on your head. If you push them down too hard, the rhombus shape will be lost so it’s recommended to do so while looking at a mirror.
4. Style the top of your hair while pulling them up
It’s important not to put too much wax on the top part of your hair. The dryer process has already done a job to put some volume into your hair and too much wax would ruin the look. Also you have to apply wax from the loots when it comes to the top of your hair so try to softly grab the front of your hair and slowly make your way up to the top. Don’t forget to rub them in as well.
This process helps to keep the volume of your hair and also creates a balanced style.
5. Pinch the front part of your hair
You only need the amount of wax that’s left on your palm to style the front part. Applying the wax into your loots would make your hair look flat. Pinch the tip of your hair and twirl!
Also the front part needs to be done quickly to avoid the “cohesive look”. a tip is to style them and finish when they casually look right.
6. Fix the details
Make sure to fix the details at the end. Check all the parts in a mirror and check if there are any parts that are too cohesive, and most importantly if it’s rhombus shaped afterall. During this process, use the tips of your fingers to fix unlike when applying wax.
How to style your hair up
 Now I am going to show you how to style your hair up. If you struggle putting your hair up and stay the way it is, there has to be few problems here and there. Having your hair up will make you look fresh instantly. This hairstyle could be used in both everyday life and business scenes.
1. Create the shape with a dryer
A dryer is the most important tool when it comes to putting your hair up. You need your hair up before applying wax in your hair or otherwise they are going to fall in front of your face no matter what.
First of all, apply a dryer from the bottom to top. And when the hair is half way dry, use the empty hand to hold the hair and apply the dryer on loots. After that process, turn off the dryer and keep holding up the hair for about 5 seconds.
Now you have your hair standing up without any product in. hair shapes when it gets hot, then becomes cold right away so this process allows your hair to strongly keep its shape.
Try this process if you have a problem keeping your hair up!
2. Use the black iris as a point to apply wax
The steps of applying wax are the same as when styling your hair down but if you really want to keep your hair up, the front part has to be done from the bottom to top. Although too much wax would cause your hair to fall down in front of your face, so make sure to style your front part at the end with leftover wax on your hand.
And a quick tip for styling your hair up is to separate your hair at the middle of your black iris of your hair to create a good overall balance of your hair. If the width is too wide or narrow the balance won’t be the same and looks goofy.
3. Hair around face line should be down
If the hair is up around your face line as well, your head would look bigger than usual. Tip is to purposely keep your hair down a bit around your face line.
Have your hair down around the temple of your head to create a balanced look.
4. Fix the details
Make sure not to forget to picture a rhombus shape when styling your hair up as well. And pushing your hair up with your entire hand at the end is an important process to keep your hair the way it is for a long time as well.
Still worried about your hair getting messed up? Use a hair spray!
If you’ve got skinny and soft hair or anyone on rainy days with a high percentage of humidity in the atmosphere, your hair won’t stay the same.
Hairspray keeps and holds your hair the way it is for a long time. Especially on important days they would come in handy. They could be used to keep the entire head in the style you want, or even to keep the specific part of your hair to not to get messed up. Applying hairspray only on the front part of your hair or top part of your hair will keep your hair rocked without ruining the look you created.
Same as the wax, pick a hard type hairspray to utilize the hairspray’s ability to the max.
Enjoy styling your hair everyday !
 That would be all today! If you start getting a hang of hair styling, this part of your day would become enjoyable! There are so many ways to set up your hair but if you remember all the tips that we showed you today, you could adjust to any hairstyling method with ease. Especially if you have short to medium hair as a man, there are a million ways to style your hair.
Use this as an opportunity to change the way you style your hair!

